Starting a business in Kenya has never been faster. In 2026, the Business Registration Service (BRS) has fully migrated to the BRS V2 portal on eCitizen. This update has shortened the registration timeline to as little as 48 hours.
Whether you are starting a sole proprietorship or a partnership, this guide provides the exact steps to navigate the new system and get your certificate.
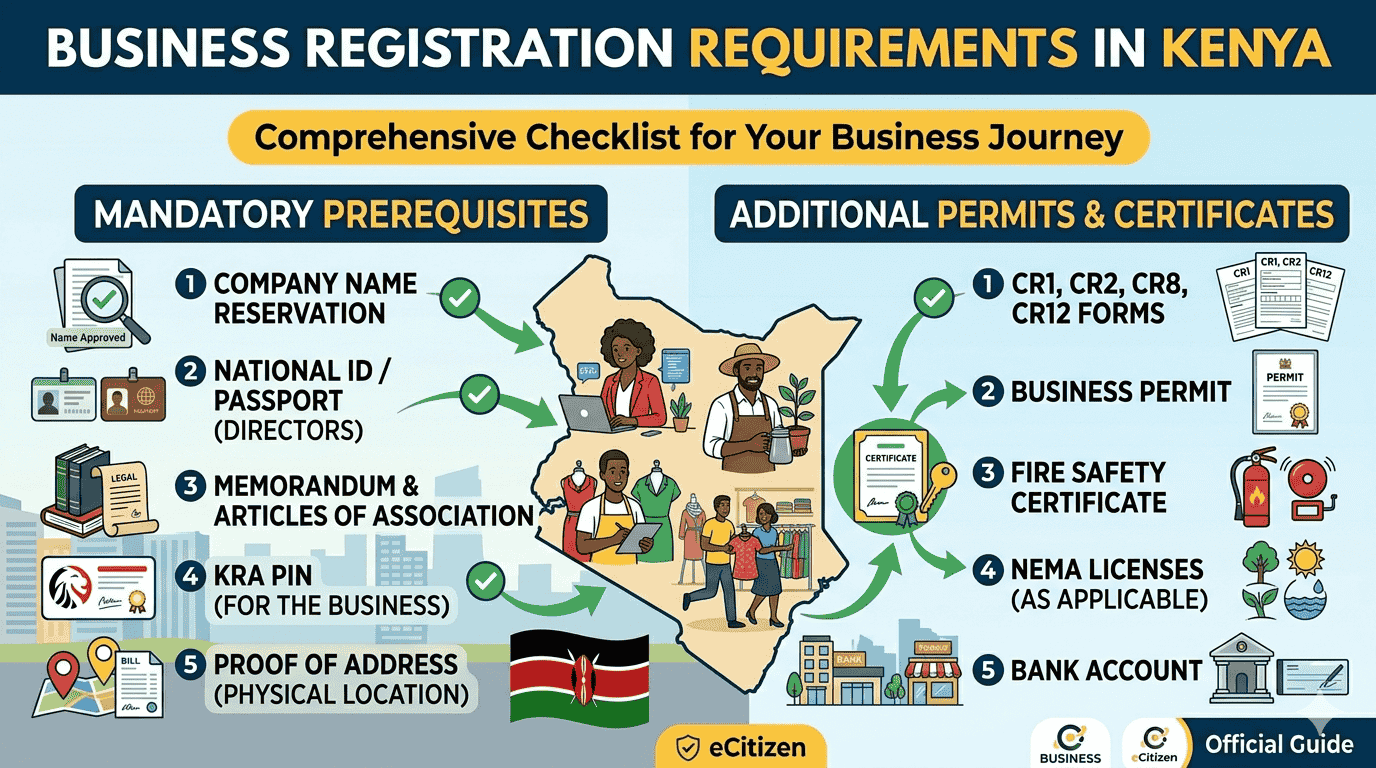
What You Need Before Starting
To avoid session timeouts on the eCitizen portal, have these items ready on your computer:
- National ID Scans: Clear PDF or JPEG of the front and back.
- Passport Photo: A digital, colored photo with a white background.
- KRA PIN: Your personal PIN.
- M-Pesa Funds: Approximately Ksh 1,000 for the registration and convenience fees.
Accessing the New BRS V2 Portal
The registration process no longer happens on the “old” eCitizen dashboard. You must enter the specialized BRS V2 window:
- Login: Go to ecitizen.go.ke and log in.
- Select Service: Click on the Business Registration Service (BRS) tile.
- Make Application: On the top menu, click “Make Application” and select BRS V2.
- Authorized Login: Click “Apply Now” and then “Login with eCitizen” in the new window that appears.
Step-by-Step Registration Process
Step 1: Proposed Name Search
Select “Registration of a Business Name” under the Companies Registry section.
- Enter three proposed names in order of preference.
- The system will check these against the existing database.
- Timeline: Name review now takes roughly 24–48 hours.
Step 2: Application Details & Capacity
The system will auto-fill your name from your ID. You must:
- Choose Business Capacity: Select if you are the Proprietor (Owner).
- Provide Address: Enter your personal postal address and code.
Step 3: Nature of Business
Search and select the category that fits your trade (e.g., Information Technology Services or General Supplies). You can select multiple categories if your business is diverse.
Step 4: Registered Office Address
Specify exactly where the business is located. You will need:
- County, Sub-County, and Locality.
- Building Name and Street.
- Plot Number.
- Company Contact: A dedicated mobile number and email.
Step 5: Ownership Information
For a Sole Proprietorship, verify your details. For a Partnership, add the names, IDs, and PINs of your partners.
Step 6: The “Sign and Upload” Phase (Crucial)
This is where most people get stuck.
- The system will generate a BN2 Form based on your data.
- Download this form and print it.
- Sign the form physically (use blue ink).
- Scan the signed form as a PDF and Upload it back to the portal.
Payment and Submission
Pay the required fee (usually Ksh 950) via M-Pesa. Once the payment is confirmed, click “Submit.”
What Happens After Submission?
- Review Period: The Registrar of Companies will review your uploaded BN2 form. This takes 1 to 3 working days.
- Download Certificate: Once approved, your status will change to “Registered.” * Go to your “Application History,” click on your business, and download your Certificate of Registration.
Need Professional Help?
If your business names keep getting rejected or you’re having trouble uploading documents, Jotech Cyber can handle the entire process for you professionally.
- Email: info@jotechcyber.co.ke
- Call/WhatsApp: +254 710 200 886
Also Read: Requirements for Certificate of Good Conduct in Kenya